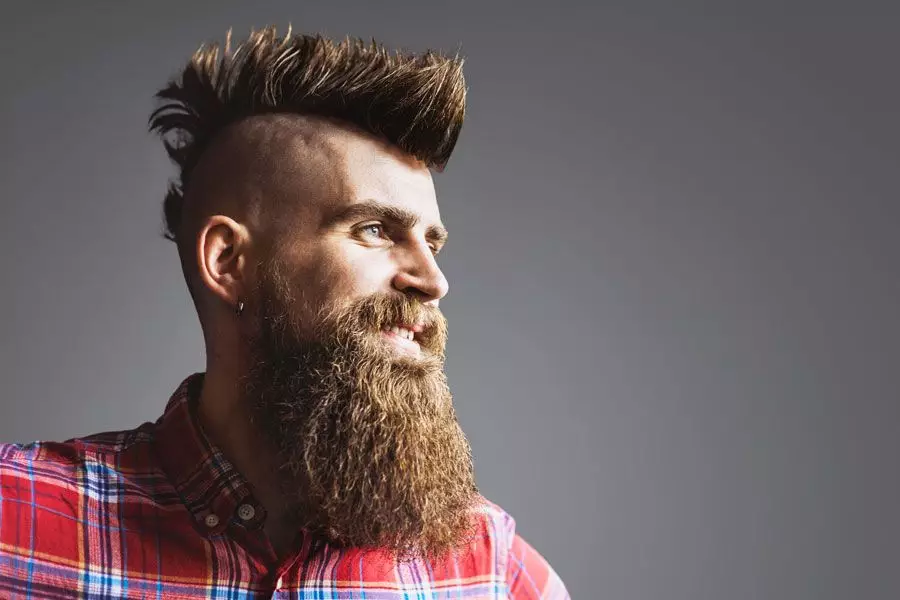
Simple Viking Braids Tutorial:
Step 1: Prep Your Hair
- Skip a Shower: Do braids on second-day hair.
- Add Texture: Use texturizing spray or dry shampoo.
Step 2: Section Your Hair
- Top Section: Clip away the top part of your hair.
- Side Sections: Divide and clip the hair on each side.
Step 3: Create Side Braids
- Rope Braid: Twist sections, cross over, then 3-strand braid.
- Repeat: Do the same on all side sections.
Step 4: Optional Snake Braids
- Slide Up: Untie and create "snake" braids if desired.
Step 5: Braid the Top Section
- French Braid to Crown: Messy French braid the top section.
- Finish Braid: Tie it off wherever you like.
Step 6: Final Touch
- Tease and Spray: Tease ends for texture, then hairspray to set.
Now enjoy your trendy Viking braids with an easy and carefree look!
How long does your hair have to be to get Viking braids?
If you're aiming for Viking braids, ensure your hair is long enough, typically reaching at least shoulder length for the best results. The longer the hair, the more intricate and authentic the Viking braids can be.
Can you shower with Viking braids?
It's advisable to skip the shower when sporting Viking braids. The natural oils in your hair contribute to a subtle hold and texture, enhancing the authenticity of the intentionally messy and rugged look you're aiming for.
What are Viking style braids called?
French Braids
The French braid, an iconic Viking hairstyle, offers various styles. While commonly paired with an undercut, you can achieve a unique and masculine look with French braids on the sides as well.
Why did Vikings wear braids?
Given the Vikings' emphasis on personal hygiene, it's probable that braids and dreadlocks served as practical solutions to maintain tidy and controlled hair. Cultural influences may also have played a role.